Vacation is over, so time to keep some promises.
Now, what is a proxy ? A proxy is an intermediary in plain English and this is exactly what Squid will do for us at the end of this tutorial.
It should work in any Prometeus plans, including the 50 cents one, however, keep in mind that Squid's performance (unlike VPN which simply relays traffic) is given by it's ability to cache the content, so, the more memory, the better, but it will have very little impact unless it is running in our internal LAN.
How it works ?
We connect to Squid by setting the VPS's IP in our browser as HTTP proxy and add the port too. It is very important to have authentication of some kind, otherwise everyone will be able to connect snd use your VPS for some unknown and unpredictible (but mostly dastardly) deeds. We open a page in that browser (you can install one especially for this kind of browsing) and the browser will send the request to Squid, Squid will look up the page, get the content in it's memory and passes it on to our browser. This is it, we see the page !
What if we want to post something ? No problem, our browser will send the data to Squid as well as the address where to put it, and Squid will do the job.
This is where caching comes into place. Normally your connection at home is way slower than that of the VPS, so Squid will be able to gather all the page before sending it to you one piece at at time. It will also remember it, so won't need to redownload it the next time you request it, or parts of it.
Unfortunatelly, while this is good if Squid is on the same LAN with you caching the gateway, you will not benefit much from caching if Squid is doing it out there in the internet, you still depend on your slow connection to get the content, this is why for this scenario when you simply need a different IP in a different country to access some restricted content, a VPN is the preferred method as it involves much better encryption and Squid's cache is irrelevant anyway. There are still some scenarios when a HTTP proxy is needed, for example when encrypted traffic is forbidden or other rare cases, so, since this was requested, this is the tutorial
1. Preparing your VPS.
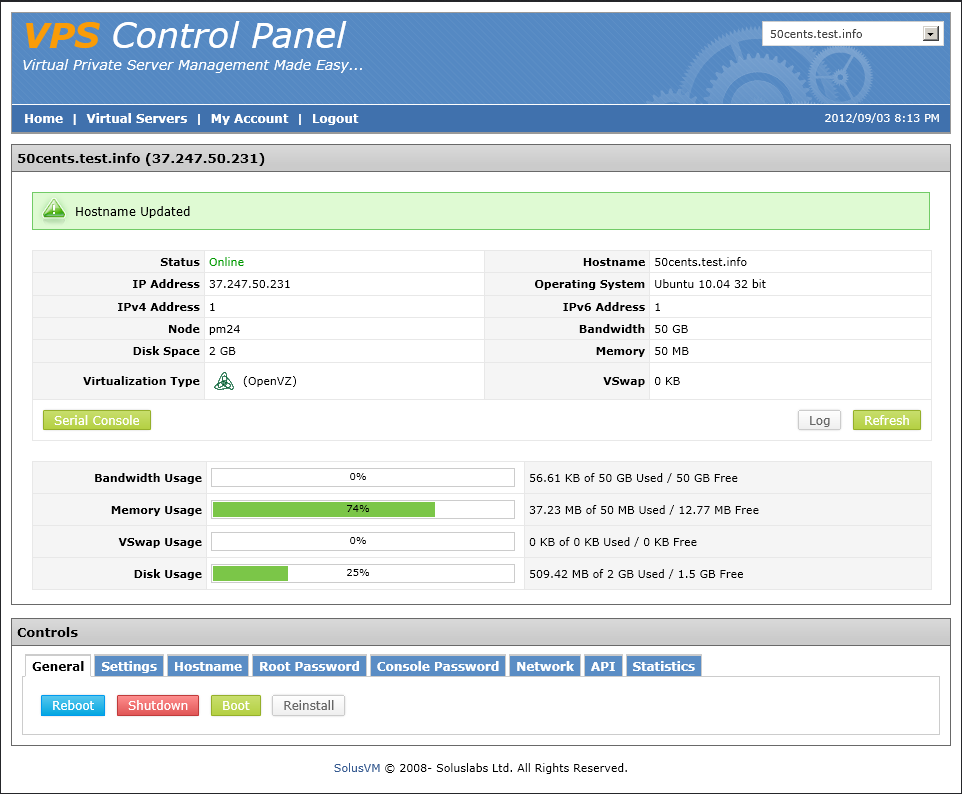
As usual i will use Debian stable 32 bit, so, we will install that by logging into our SolusVM panel and install it (note: in this case you don't need any OVZ modules, IPTables and whatnot):
Click on the Install button:

and choose Debian 6 32 bit:

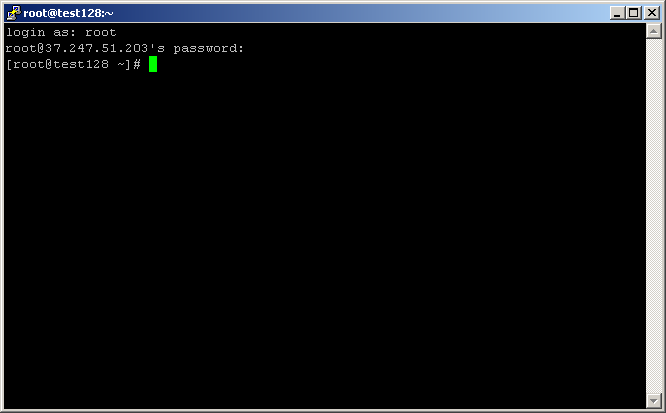
Click reinstall and wait it to finish. It should not take longer than a couple of minutes. Now set the root password to a combination of letters and numbers such as Pa55Mine and use a ssh client to login, putty should be fine:

Now issue the following commands:
Code: Select all
apt-get updateCode: Select all
apt-get upgradeCode: Select all
apt-get remove samba*Answer all prompts with yes.
Now it is time to
2. Install Squid.
Code: Select all
apt-get install squidCode: Select all
squid -k shutdownCode: Select all
apt-get install nanoCode: Select all
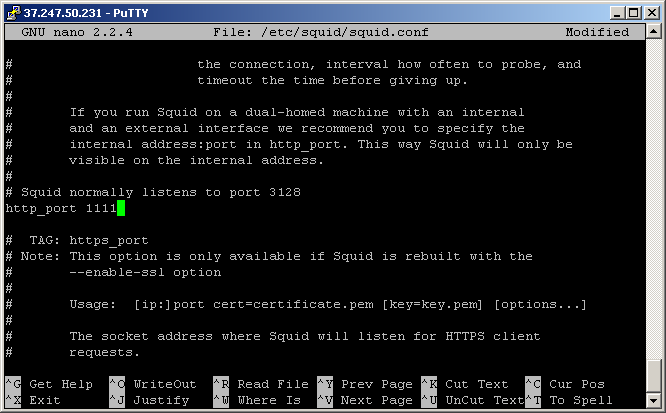
nano /etc/squid/squid.confCode: Select all
auth_param basic program /usr/lib/squid/pam_auth
auth_param basic children 5
auth_param basic realm Squid proxy-caching web server
auth_param basic credentialsttl 4 hours
acl password proxy_auth REQUIRED
http_access allow password
forwarded_for off
auth_param basic program /usr/lib/squid/ncsa_auth /etc/squid/users_passwd
acl ncsa_users proxy_auth REQUIRED
http_access allow ncsa_usersCTRL+w type http_port 3128 and you will be taken there. Replace 3128 with the port of your choice.

CTRL+O to save and CTRL+X to exit.
Now we create a file for users and passwords:
Code: Select all
touch /etc/squid/users_passwdCode: Select all
htpasswd /etc/squid/users_passwd user-for-accessing-squidIf you get some error do
Code: Select all
apt-get install apache2Restart your VPS with:
Code: Select all
init 6For any problems, just reply and we'll solve it together.
Admin
(Thanks Erawan for providing the basis for this, it saved me some time)
